How-To Guide
How to Measure for Blinds: Inside vs Outside Mount (Step-by-Step)
A few millimetres make or break a custom blind. Measure a window too generously and an inside-mount shade jams against the frame; too cautiously and daylight leaks down the sides every Calgary morning. The good news: measuring for blinds is genuinely simple once you've decided between an inside or outside mount, picked up the right tape, and committed to writing down exactly what you see. This guide walks through both mounts step by step, the handful of tools you actually need, and the mistakes that catch most first-timers — including a few quirks specific to Calgary's older inner-city windows and newer deep-silled suburban builds. And if you'd rather not balance on a step stool with a pencil in your teeth, we'll measure precisely for you, free, at the end.
What's the difference between inside and outside mount?
Every blind hangs one of two ways, and the choice changes how you measure — so settle it first. An inside mount sits inside the window recess, framed by your existing trim. It looks clean and built-in, shows off nice casing, and sits flush — but it needs enough flat depth in the recess, and it lives or dies on precision, because the blind must fit a fixed opening with only millimetres to spare. An outside mount fixes to the wall or trim above and around the opening, so the blind overlaps the window rather than nesting inside it. It's the more forgiving option: it hides an out-of-square frame, blocks the most light at the edges, and works on shallow windows that have no usable recess at all. The trade-off is that it covers your trim and stands slightly proud of the wall. In Calgary, our rule of thumb: deep-silled windows in newer suburban builds — think Mahogany, Evanston or Nolan Hill — usually take a tidy inside mount, while older inner-city windows in Mount Royal, Inglewood or Bridgeland are often slightly out of square and suit an outside mount that quietly hides the imperfection. Decide the mount before you pick up the tape, because the numbers you record depend entirely on it.
What tools do you need to measure for blinds?
You don't need a toolkit — you need the right tape. The single biggest measuring mistake is reaching for a soft sewing tape that stretches and sags; a window measured with one almost always reads long. Use a rigid steel tape measure, the kind that stays straight when you extend it across an opening. Beyond that, grab a pencil (not a pen — you'll want to correct yourself), a printed sheet or notebook to record each window, and a step stool or ladder for anything above eye level. A small level helps when you're planning an outside mount and want the headrail line straight. Most importantly, photograph every window with your phone: a photo captures the cranks, handles and quirks your notes forget. And if a window is wider than your arm span, have a second person hold the other end of the tape so it doesn't droop in the middle and read long.
- Rigid steel tape measure (never a cloth or sewing tape)
- Pencil and a printed measuring sheet or notebook
- Step stool or ladder for upper windows
- A small spirit level (helpful for outside mounts)
- Your phone, to photograph every window and its hardware
- A helper for any window wider than your arm span
How do you measure for an inside-mount blind?
Inside mounts are all about precision, because the blind has to drop into a fixed opening. Work in inches to the nearest 1/8, measure the bare opening — not an existing blind or the glass — and never round to a whole number. The golden rule: windows are rarely perfectly square, so you measure each dimension in three places and let the readings tell the truth. Record exactly what you measure and hand those numbers to whoever makes the blind; the factory applies its own small deductions so the blind runs freely. If you deduct yourself and they deduct again, you end up with a blind that's too narrow and gaps down both sides. Follow this sequence:
- Step 1 — Width: measure inside the opening at the top, middle and bottom. Record the narrowest of the three.
- Step 2 — Height: measure inside the opening at the left, centre and right. Record the longest for full coverage, or note all three.
- Step 3 — Depth: measure from the glass to the front edge of the recess to confirm there's enough flat depth for the headrail (this varies by product).
- Step 4 — Obstructions: note any window cranks, handles, locks, alarm contacts or tile that could foul the blind or its brackets.
- Step 5 — Record: write it as Width × Height to the nearest 1/8 inch, label the window, and do not subtract anything yourself.
How do you measure for an outside-mount blind?
Outside mounts are the relaxed cousin: you choose how much wall the blind covers, so there's room to forgive a wonky frame. The blind mounts above and around the opening and overlaps it, which is why this style blocks the most light at the sides — a real advantage for south- and west-facing Calgary bedrooms that catch low, glaring winter sun off the snow. Because you're deciding the coverage rather than fitting a fixed slot, you add overlap on purpose. A common starting point is roughly 3 inches of extra width on each side and about 3 inches above the opening for the headrail, but the exact overlap depends on the product and the look you want, so treat those as a guide rather than a hard rule. Make sure your mounting surface is flat and solid — broad trim or wall, not rounded or narrow casing — and you'll get a clean, secure fit.
- Step 1 — Coverage: decide the overlap. As a guide, allow about 3" beyond the opening on each side and ~3" above for the headrail.
- Step 2 — Width: measure the full span you want the blind to cover, including that overlap.
- Step 3 — Height: measure from where the headrail will sit (above the opening) down to where the blind should end — sill, apron, or below.
- Step 4 — Surface: confirm the mounting area is flat and solid, and note where there's wood or backing to screw into.
- Step 5 — Record: write Width × Height, label the window, and photograph it for reference.
How do you measure doors, bay windows and skylights?
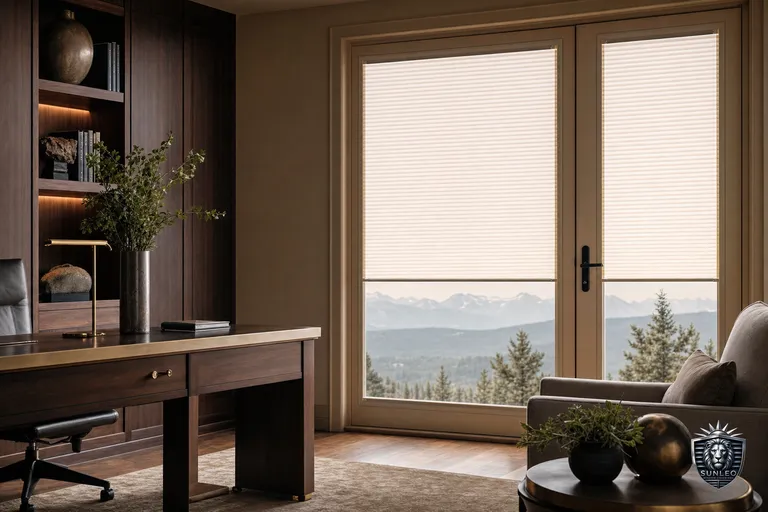
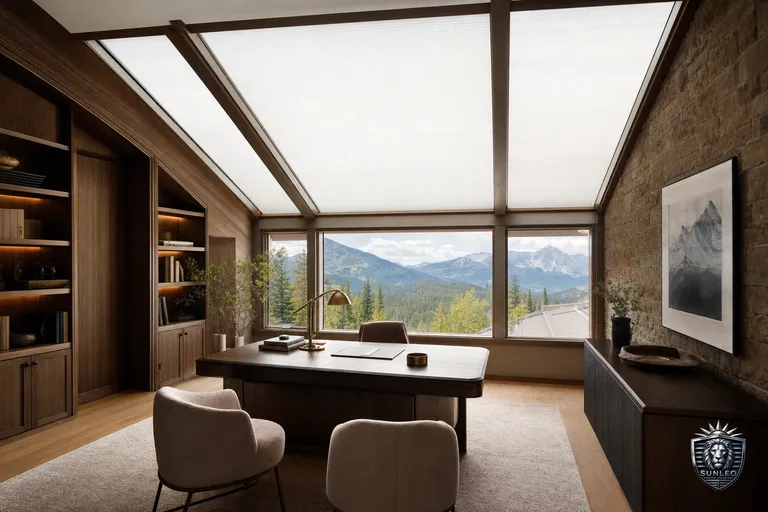
Standard windows are the easy part. A few common Calgary situations need their own approach. Patio and French doors: blinds here must clear the handle and any deadbolt, and they can't flap when the door swings — which is exactly why no-drill perfect-fit and door blind systems exist, fitting tight to the glass within a slim frame so nothing rattles. Measure the visible glass plus the bead, and note the handle's position and how far it projects. Bay windows: treat every facet as its own window, measure each opening separately, and note the angle where two panes meet so the blinds can butt neatly into the corners. Skylights and angled ceilings: these are the one measurement we'd genuinely steer you away from doing solo. They're overhead, often on a slope, and need a track-guided or side-channel system tensioned to hold position against gravity — a job for a tape, a ladder and a second pair of hands at minimum. Egress basement windows, deep wells and oversized south-facing feature windows also reward a careful, in-person eye. When in doubt, measure what you can safely reach, photograph the rest, and flag it for a professional check.
What are the most common blind-measuring mistakes?
Most measuring errors are small, avoidable, and expensive — because a made-to-measure blind is cut to the numbers you supply, so a wrong figure usually can't be returned. The pattern we see again and again starts with the wrong tape and ends with a blind that doesn't fit. Run through this checklist before you commit your numbers and you'll dodge nearly all of them.
- Using a cloth or sewing tape that stretches — always use a steel tape.
- Measuring in only one spot. Windows, especially in older Calgary homes, are rarely square — always measure three points.
- Rounding to the nearest inch instead of the nearest 1/8.
- Taking your own deductions on an inside mount, then the factory deducts again, leaving the blind too small.
- Measuring an existing blind or the glass instead of the actual opening.
- Writing height before width — the convention is always Width × Height.
- Forgetting cranks, handles, locks or tile that block an inside mount.
- Treating a door, bay or skylight like a flat standard window.
Inside vs outside mount: which is right for your window?
Still unsure which mount your window wants? Use the quick comparison below, then sanity-check it against your priorities. Choose an inside mount when the window is reasonably square, the recess is deep enough for the headrail, and you want a clean, minimal look that frames the trim. Choose an outside mount when the frame is out of square, the recess is too shallow, or light control is the priority — overlapping the opening is the simplest way to kill edge light in a bedroom or media room. Plenty of Calgary homes end up with a mix: inside mounts on the tidy newer windows, outside mounts where an older opening has settled out of true. There's no universally 'right' answer — there's the right answer for each window, your light, and the look you're after.
Should you measure yourself or book a free in-home measure?
Measuring your own windows is absolutely doable, and now you know how: pick the mount, use a steel tape, measure three points, record to the nearest 1/8 inch, and watch for the classic traps. For a single tidy window, that's often all you need. But across a whole home — mixed mounts, a bay, a tricky skylight, a patio door, and the small temperature-driven movement Calgary's Chinook swings put into vinyl frames — the margin for a costly mistake adds up fast. That's the gap we close. A Sunleo consultant comes to you, measures every window precisely with professional tools, confirms the best mount for each opening, and brings fabric samples so you can see colours against your own light before anything is ordered. Nobody drives to a store, and nobody gets a sales pitch — you get exact numbers and a written quote in your inbox within about two business days. Set down the step stool and the pencil; book a free in-home measurement and we'll take it from there.
| Inside mount | Outside mount | |
|---|---|---|
| Look | Clean and built-in; frames the window trim | Covers the frame; blind sits slightly proud of the wall |
| Light control at edges | Small gaps at the sides are normal | Best edge blockage — overlaps the opening |
| Window depth needed | Needs enough flat recess depth (varies by product) | Works on shallow or flush windows with no recess |
| Best for | Square, deep-set windows and a minimalist look | Out-of-square or shallow windows; maximum blackout |
| Obstructions | Cranks and handles can get in the way | Clears handles and cranks easily |
| Measuring margin | Precision to 1/8 inch is critical | More forgiving — you choose the overlap |