Buyer's Guide
Blind Mount Types and Light Gaps, Explained: Flush, Inside, Outside & Ceiling
Most guides stop at "inside mount vs outside mount," but that only covers two of the options — and it skips the question people actually search for: why does light still leak around the edges of my blind? The mount you choose changes where the blind sits relative to the glass, and that gap between fabric and frame is exactly where morning light, streetlight glow, and winter draughts get in. This guide goes one level deeper than the basics, walking through flush mount, standard inside mount, outside mount, and ceiling mount as four distinct options — not just "in or out" — and showing what actually causes light gaps at the top and sides of each, plus the practical fixes (side channels, deeper reveals, closer-fit hardware) that close them. If you already know inside vs outside basics, this is the next layer: how the mount decision changes your light control, not just your look.
The four mount types (not just "inside vs outside")
Blinds and shades can be hung four distinct ways, and each puts the fabric a different distance from the glass — which is exactly what determines how much light can wrap around the edge.
A flush mount sets the headrail and blind fabric as close to the glass as the frame depth allows, often inside a recessed reveal, so almost no gap exists between blind and window. A standard inside mount fits within the window frame like a flush mount, but sits further forward, with clearance built in so the blind can tilt, roll, or retract without rubbing the frame — that clearance is where light gaps usually start. An outside mount fixes the brackets to the wall or trim around the window, so the blind is sized larger than the opening and overlaps it from the front, hiding the frame (and any unevenness in it) entirely. A ceiling mount fixes the brackets to the ceiling or a soffit above the window — common for skylights, very tall windows, and openings that run close to the ceiling line — so the blind hangs down and covers the top edge from above rather than tucking inside it.
The practical takeaway: the closer the blind sits to the glass and the more it overlaps the frame, the smaller the gap. Flush and outside/ceiling mounts win on light control; standard inside mount wins on a clean, tucked-in look but needs a little more attention to fully close the gap.
Flush mount: the tightest fit against the glass
Flush mount is the closest a blind can sit to the glass while still fitting inside the window opening. Rather than a bulky headrail hanging forward, the mechanism recesses into the frame or reveal, so the fabric runs almost flush with the wall around it.
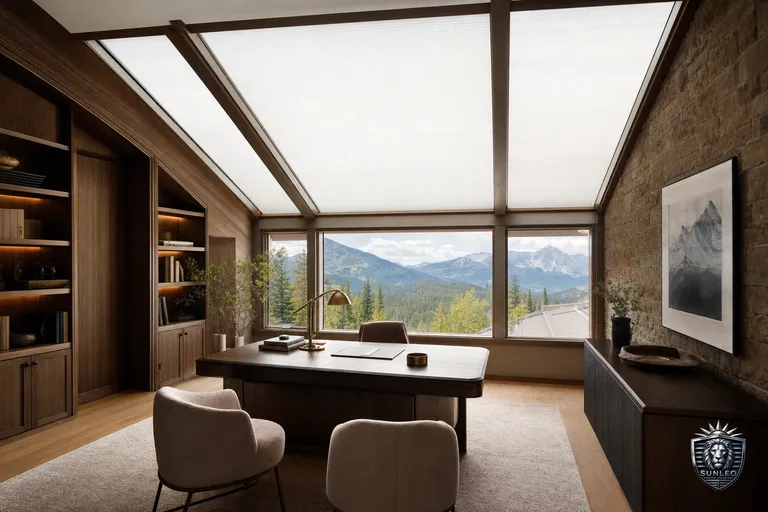
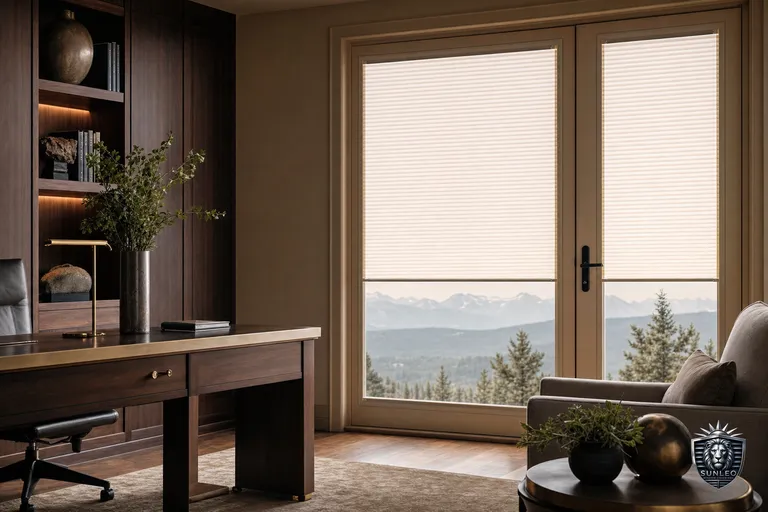
This is the mount style behind two of Sunleo's most gap-resistant products. Perfect Fit / door blinds use a no-drill frame that clips directly onto the window or door bead, holding the blind taut edge-to-edge with virtually no side gap — which is exactly why they suit French doors and patio doors where a standard inside mount would leave visible light lines down each side. Skylight blinds use a similar principle vertically: a track-guided system runs the fabric in side channels the full length of the glass, so it stays flush and controlled even on a sloped or hard-to-reach opening, instead of billowing away from the glass and letting light spill in at the edges.
Flush mount isn't available on every window — it depends on frame depth and the product's hardware profile — but where it fits, it is the single best option for anyone specifically trying to eliminate light gaps rather than just reduce them.
Standard inside mount: why light escapes at the top and sides
Standard inside mount is the most common choice in Calgary homes because it looks clean and keeps the window casing visible. The blind sits inside the frame, but unlike flush mount it needs working clearance — a few millimetres on each side so the blind can roll, tilt, or raise without dragging — and a small setback at the top for the headrail and its bracket.
That built-in clearance is the direct cause of the light gaps people notice at the sides and along the top of an inside-mount blind. It's not a flaw in the blind; it's the trade-off for a smooth-operating mechanism that fits neatly within the frame.
A few things make the gap worse than it needs to be:
- A shallow window reveal, which limits how deep the headrail can sit and pushes the fabric forward, away from the glass - Frames that have settled unevenly over time — common in older inner-city Calgary homes — where the opening is slightly out of square, widening the gap on one side more than the other - A basic open headrail instead of a closed cassette, which leaves a visible sliver of light along the top even when the sides are tight
Inside mount is still the right call for most rooms — it's tidy, it shows off attractive trim, and it works on the majority of standard window depths. The point is simply to know that the gap is a mechanical trade-off, and that it can be reduced (see the fixes section below) rather than accepted as fixed.
Outside and ceiling mount: covering the gap by overlapping the frame
Outside mount takes the opposite approach: instead of fitting inside the opening, the blind is built wider and taller than the window and mounted to the wall or trim around it, so the fabric overlaps the frame on every side. That overlap is what makes outside mount the standard recommendation whenever full darkness or maximum privacy matters — bedrooms, nurseries, media rooms, and any window with an uneven or out-of-square frame that would otherwise show through as a visible gap on one side.
Ceiling mount works on the same overlap principle but from above: brackets fix into the ceiling or a soffit rather than the wall, and the blind hangs down to cover the top of the opening. It's the practical choice for skylight and near-ceiling installations where there isn't enough wall above the window for a standard outside bracket, and it's also useful on tall living-room windows that run close to a vaulted ceiling.
Neither mount is completely gap-proof on its own. Overlap stops light from sneaking around the frame itself, but the fabric still has to clear the wall or ceiling surface by a small margin to hang and operate freely — and on a very wide or very tall opening, that margin can let a thin line of light through at the very edge unless the extra width and drop are sized generously and the fixes below are used alongside it.
Practical fixes for side and top light gaps
Whichever mount you choose, these are the details that actually close a light gap rather than just move it:
- Side channels: slim tracks fitted down each side of the window that the blind's edges run inside, sealing the sides the way weatherstripping seals a door — used on skylight blinds and increasingly on blackout rollers in bedrooms
- A deeper reveal box: where possible, building or choosing a window with more recess depth gives an inside-mount blind room to sit further back and closer to the glass, shrinking the side gap before it starts
- Closer-fit or cassette hardware: a closed, boxed headrail (rather than an open one) blocks the top gap that a basic bracket leaves behind, and is worth requesting specifically for bedrooms and media rooms
- Sizing the overlap generously on outside/ceiling mounts: a wider fabric drop and a few extra centimetres of overlap on each side leaves margin for a frame that isn't perfectly square
- Layering with drapery: a curtain hung outside and above an inside-mount blind hides residual light at the top and sides without changing the blind itself — a common Calgary combination for bedrooms that need full dark for shift work or summer's early sunrise
Which mount should you choose for your window?
If light gaps aren't a concern — a laundry room, a hallway, a window with privacy glass — a standard inside mount is usually the simplest, most attractively finished option, and there's no need to overthink it.
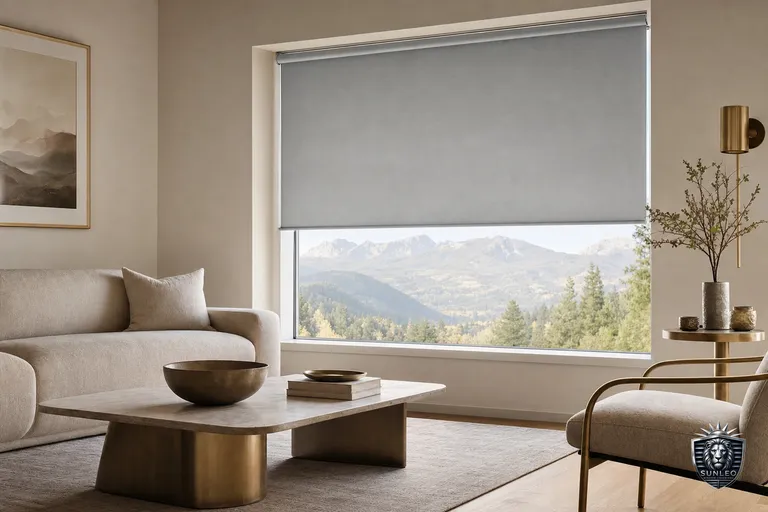
If you're specifically bothered by light leaking around the edges, work backward from the room: a bedroom, nursery or media room that needs real darkness usually calls for an outside mount (or a flush-mount product like a closed-cassette roller) plus a side channel if the light is still noticeable after that. A patio or French door benefits from a no-drill Perfect Fit system precisely because it's built to be flush and edge-tight. A skylight or a window close to a vaulted ceiling needs a ceiling-mounted, track-guided system rather than a standard bracket.
Because frame depth, squareness, and the exact hardware available all vary window to window — and vary more than people expect between an older Calgary bungalow and a newer build in a suburb like Cochrane or Chestermere — the mount that will actually close your light gap is easiest to confirm in person. A Sunleo consultant can check your reveal depth, look at how square the frame is, and recommend the mount and any add-on (side channel, cassette, deeper drop) that will solve it, as part of a free in-home measurement — with no obligation and no pressure to buy on the spot.